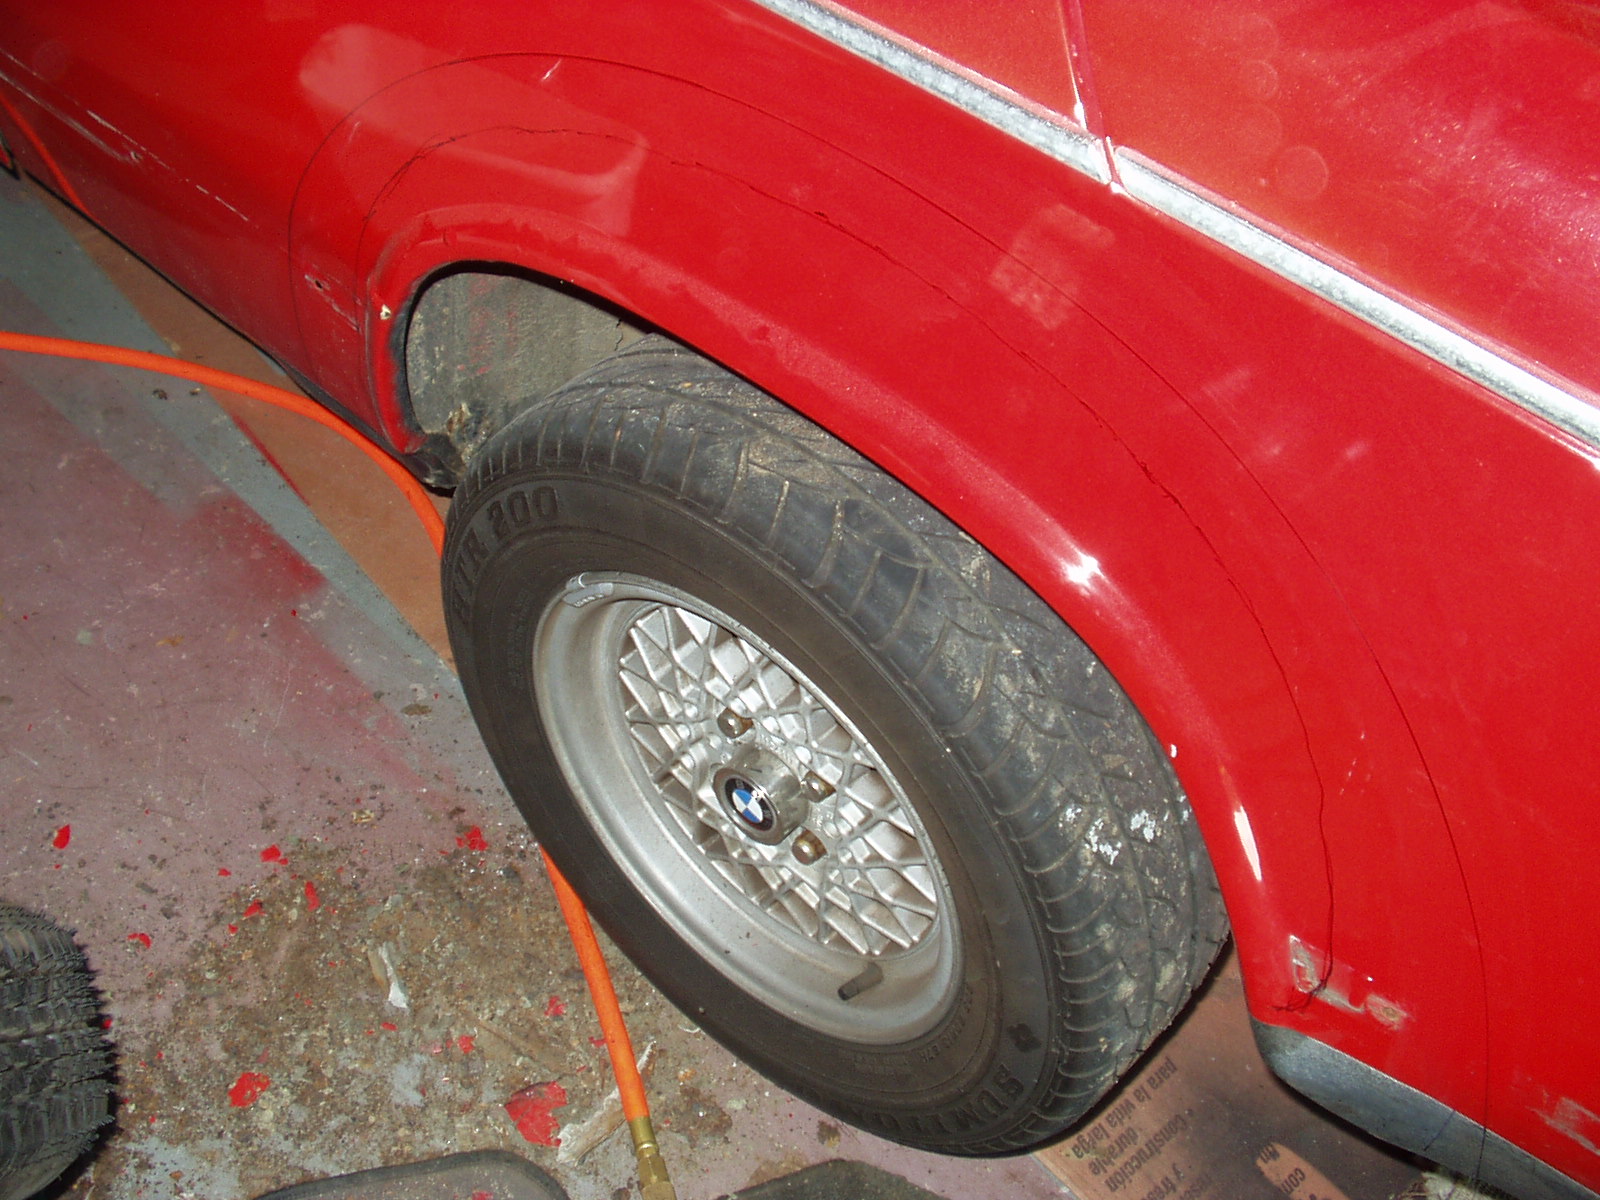
As Uber’s rear arches were finally turning to oxide Wheaties, I opted to take the easy way out. Cut out the rot, weld up the holes and install fiberglass turbo-style flares. In theory it sounded easier than welding in new stock quarter panels. Turned out the easy way was only slightly less difficult.

First came the measuring. I followed the instructions set forth by those much smart than I. Placing the flares against the body I traced the edge with a Sharpie. Next I measured down about 2-3″ and traced out a pattern. This was the cut line which insured that I had enough panel to mount the flare too while also leaving enough metal to weld the flanged inner fender.
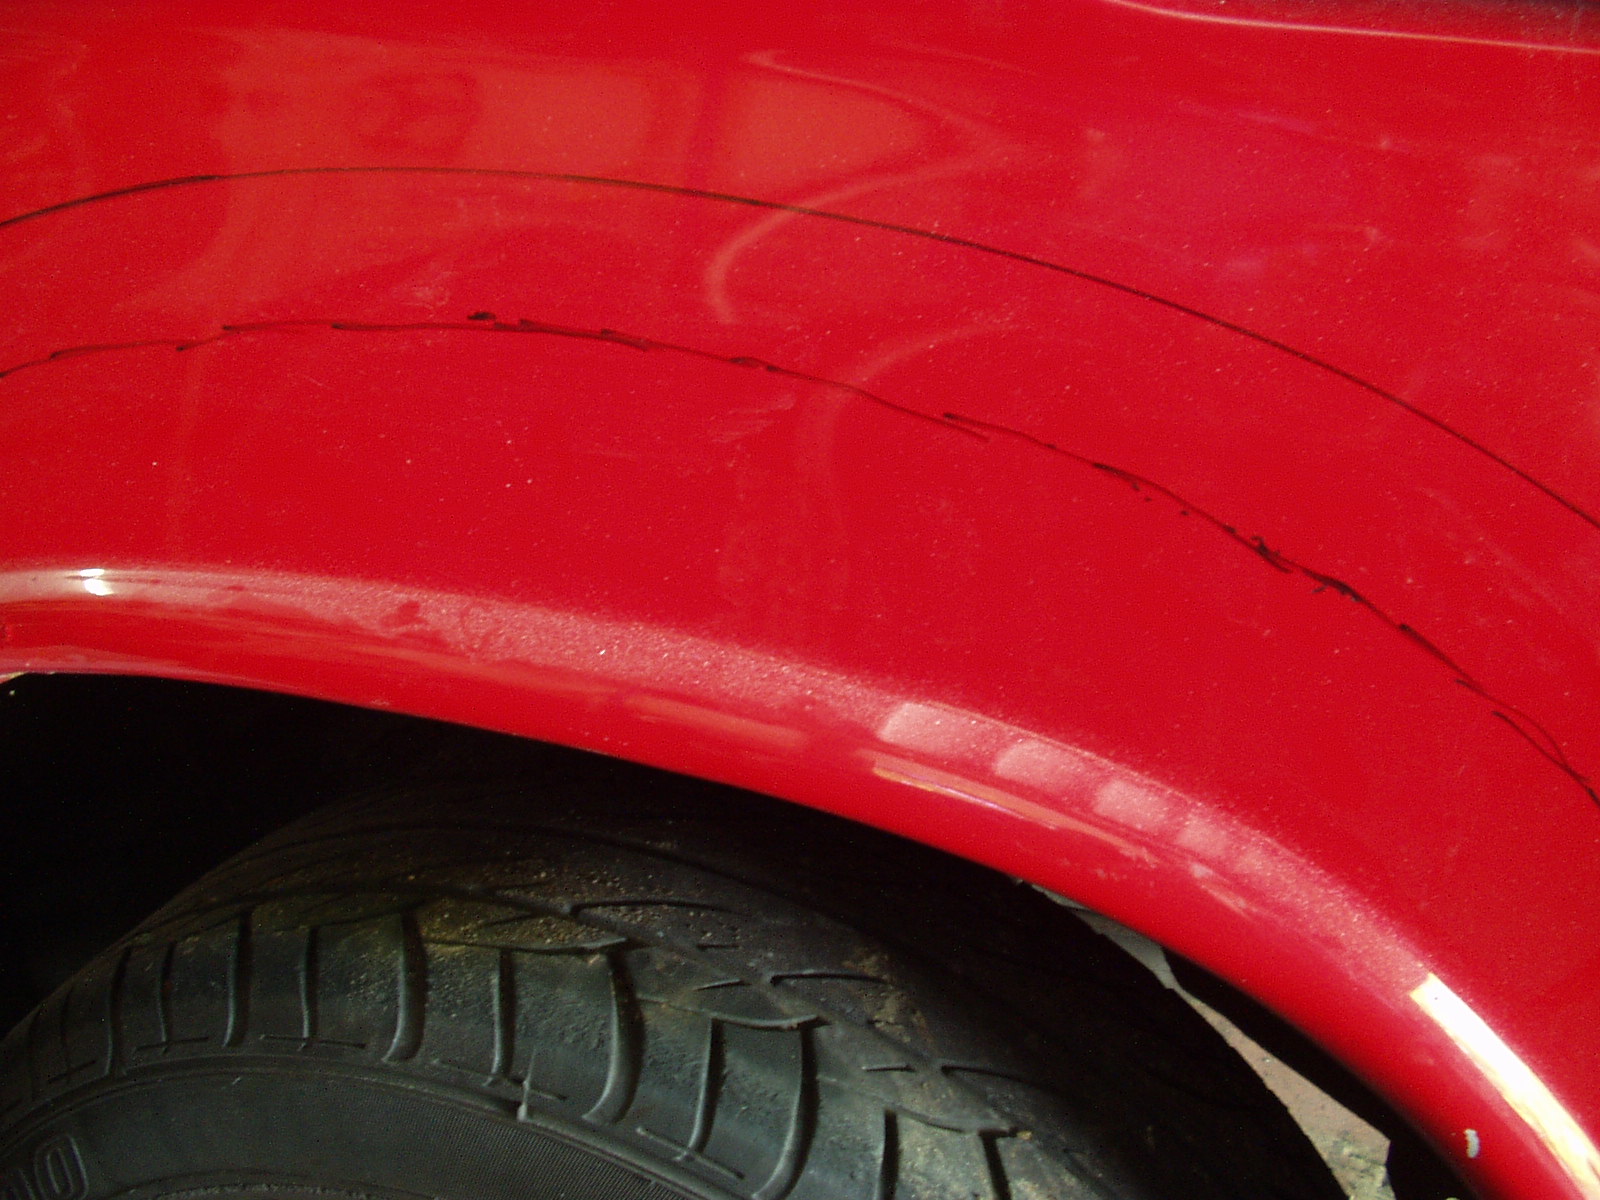
Then came the careful cutting. It’s tough to describe the feeling in your gut that arises when you take a cutting tool to a seemingly decent paint job. In this case the feeling was more of an aroma, the aroma of powdered Bondo. I soon found why the rear arch had been a bit rusty. Bondo clouds came spewing forth, belying the seemingly decent body work. No matter, I pressed on.
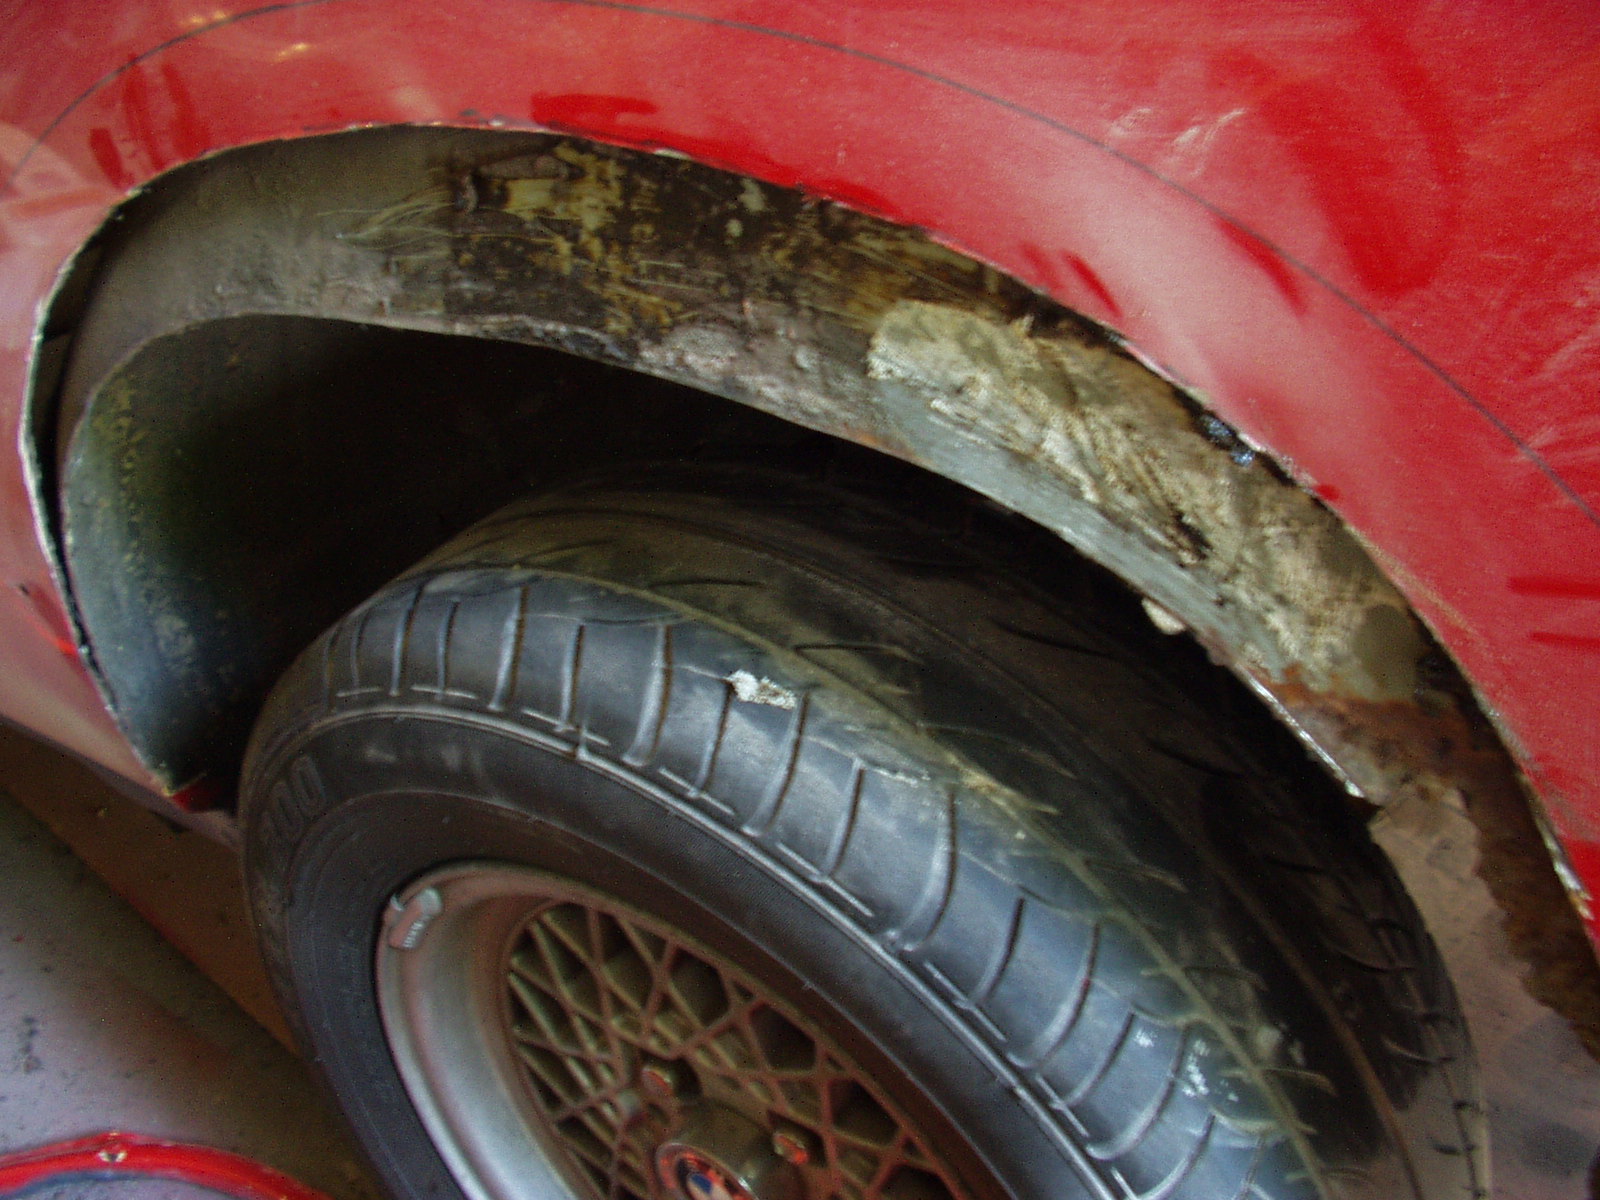
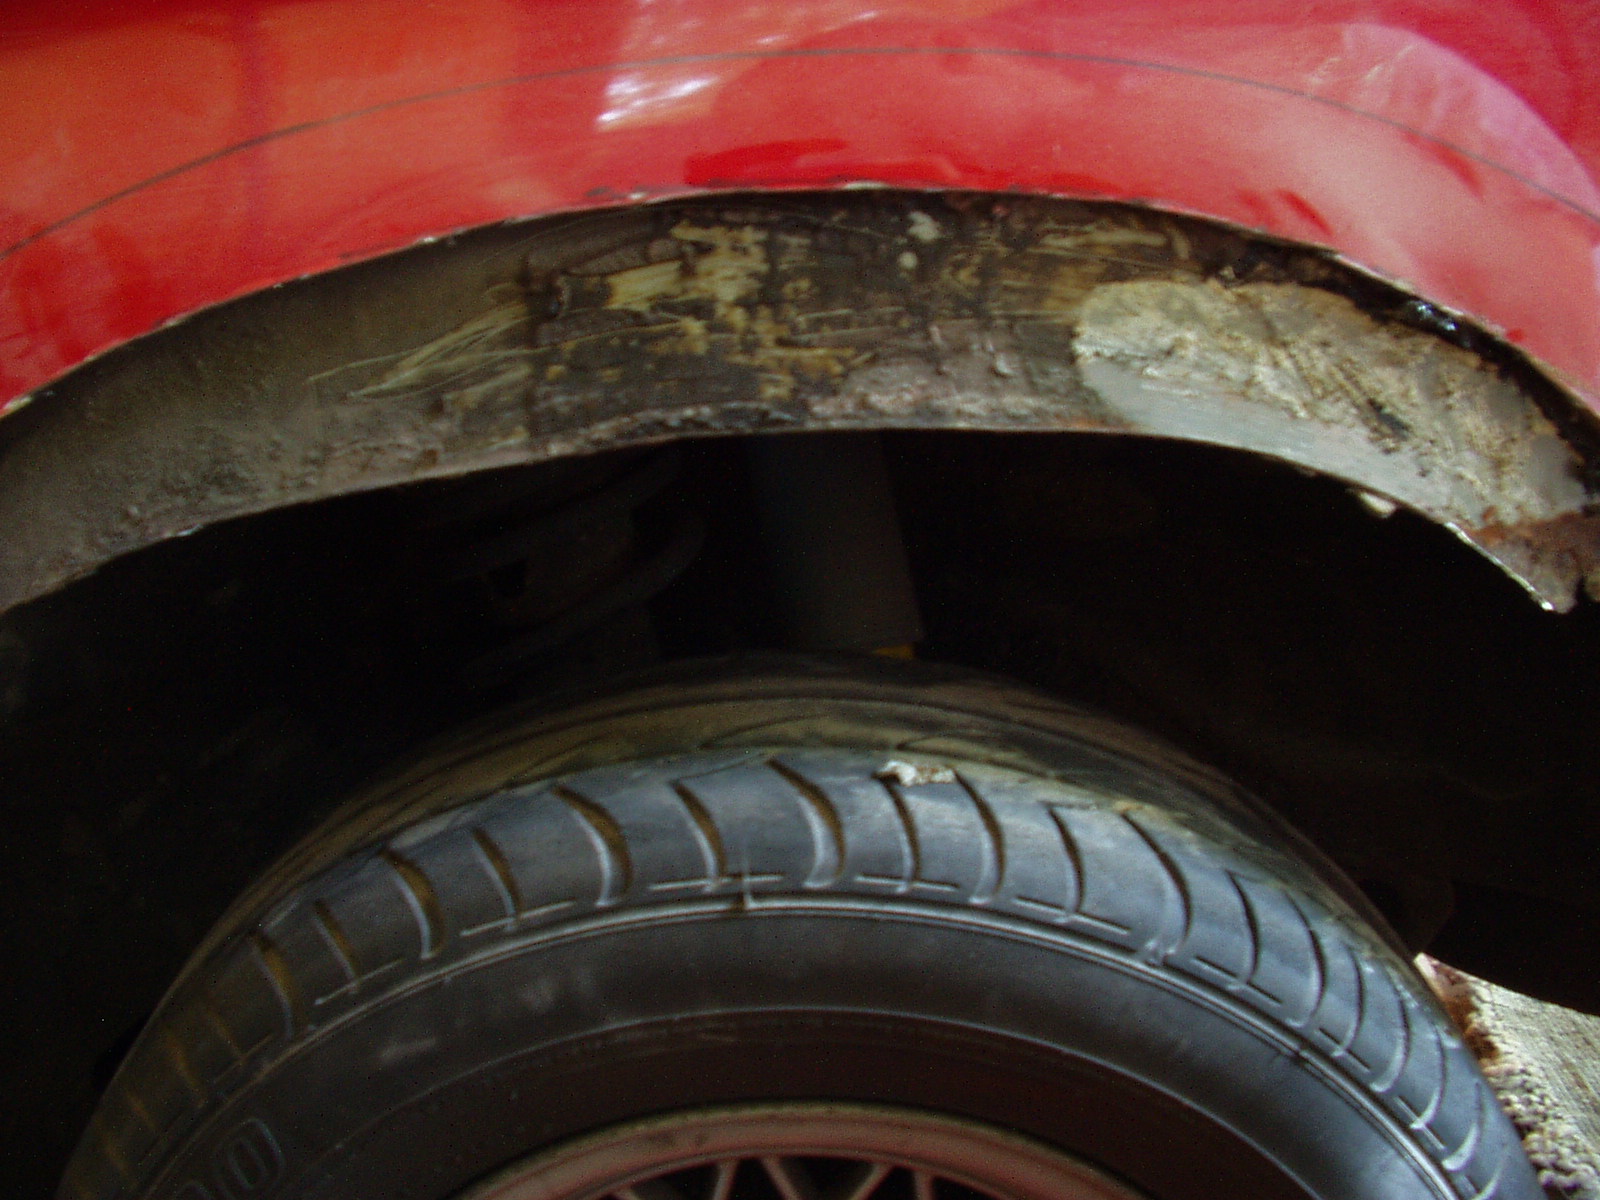
Once the outer quarter panel was cut, the inner wheel well was revealed. After trimming away the arch lip a two layered quarter panel was laid out before me. The conventional, and most successful, flare installations typically bend the inner well up to the outer quarter and weld the two together. This creates a sealed arch. However, to get the inner well to bend requires slicing it several times into a tooth-like configuration and then bending up the tabs. More welding practice. Cut, bend, weld, repeat.
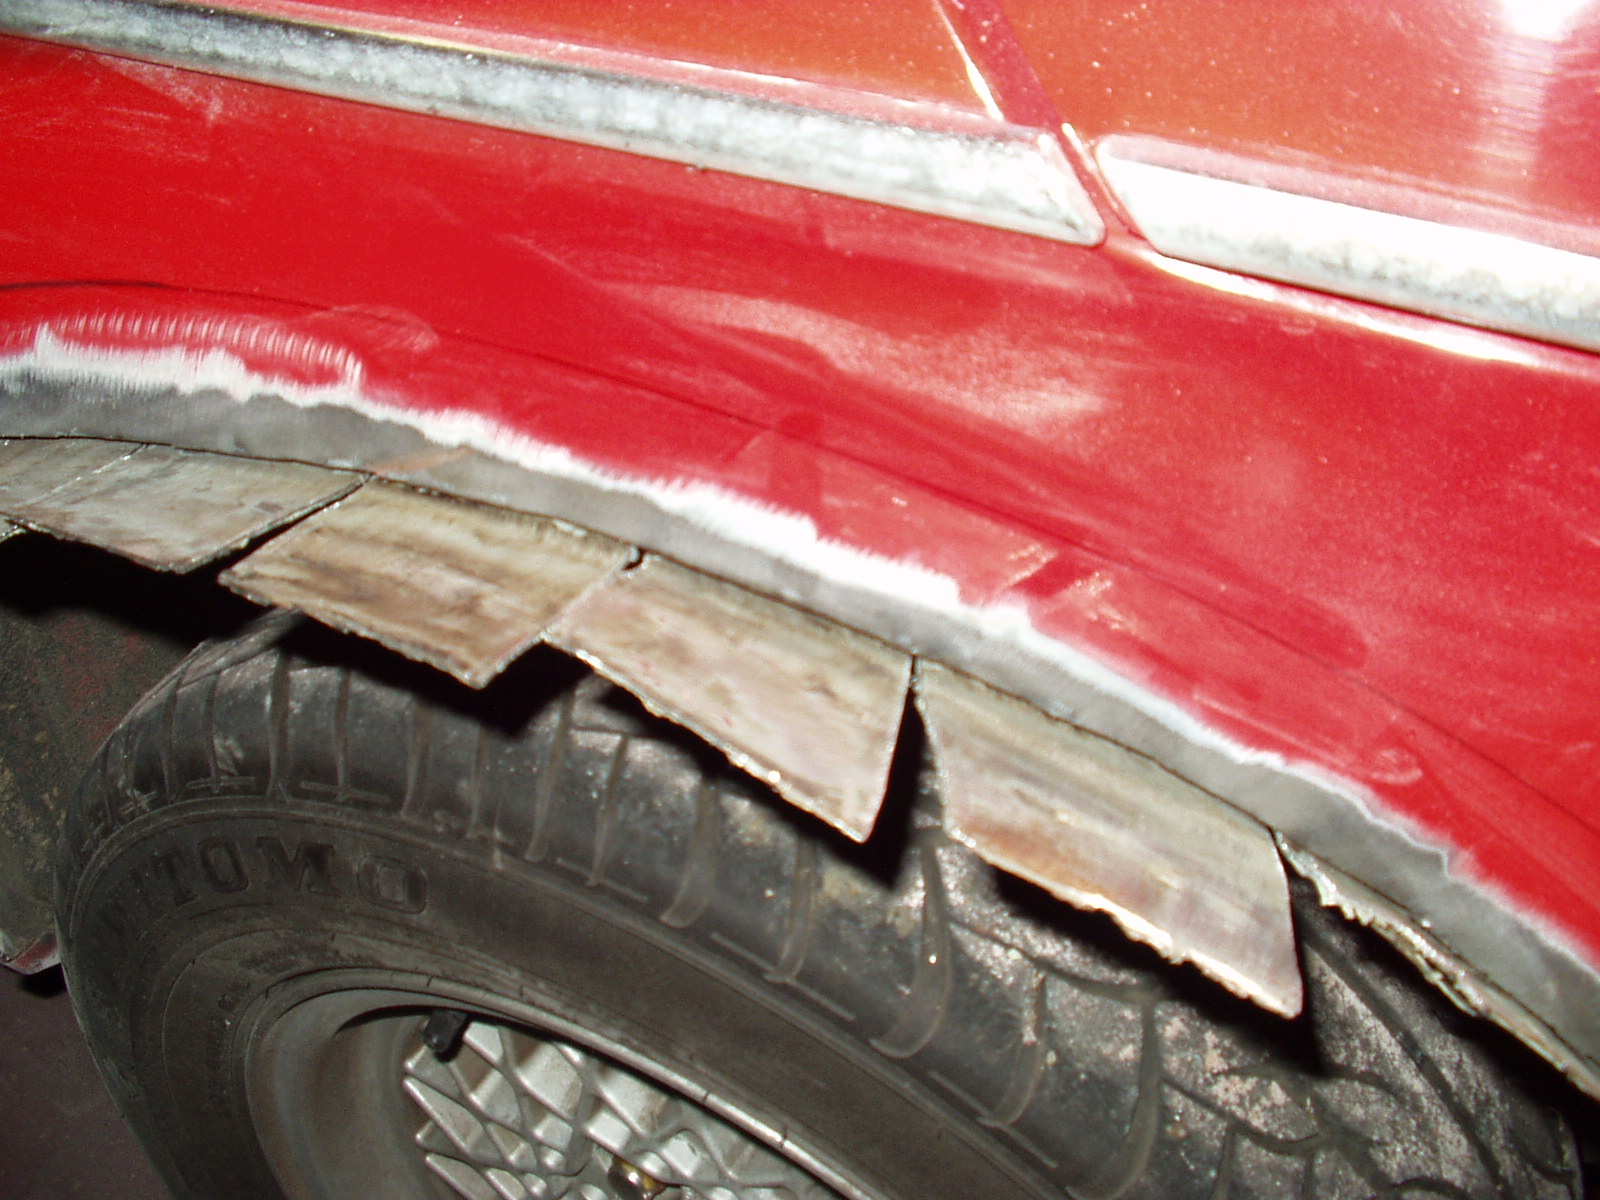
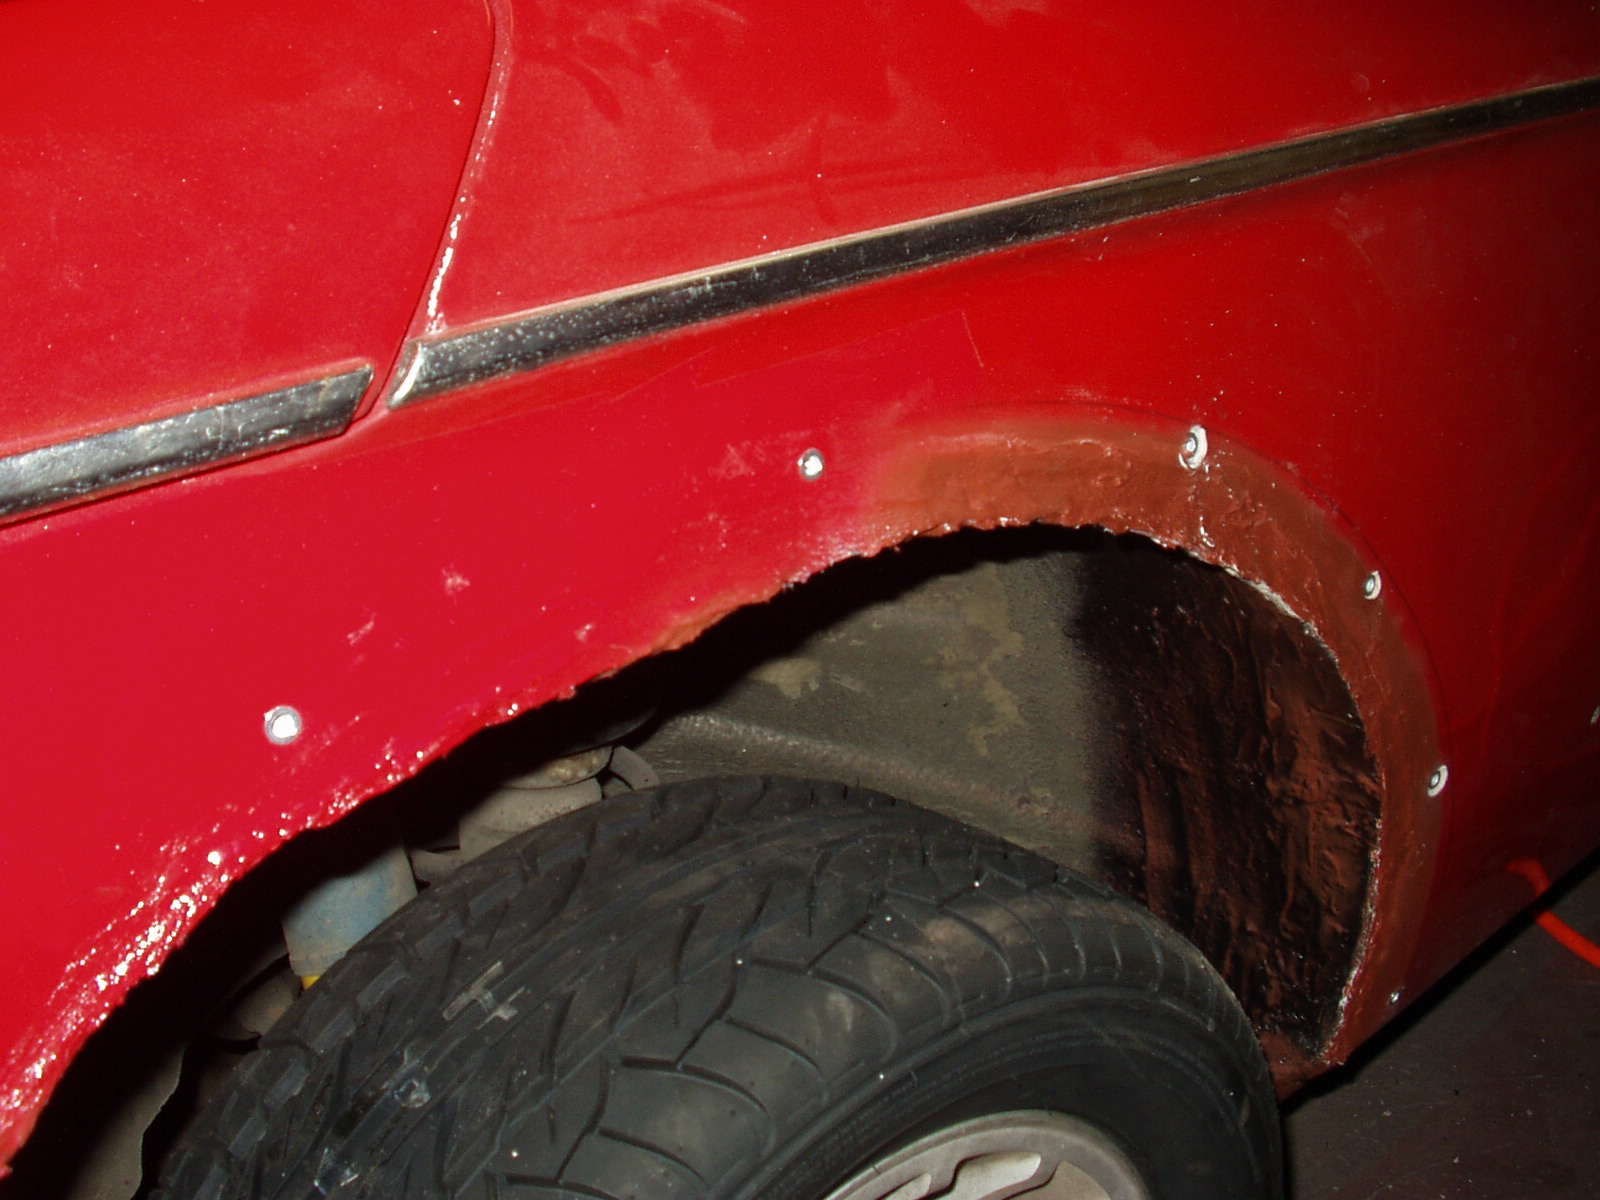
In order to weld, a handful of requirements must be fulfilled. One of these requirements is metal must weld to metal, not Bondo. I ground, what I thought was paint, off the outer quarter to allow for the inner tabs to meet up metal y metal. More Bondo dust. Once all the tabs were welded, I trimmed the overhang and sealed the exposed metal with rust protector and 3M seam sealer. It doesn’t look all that nice, but it got the job done. Besides, bolt on flares hide a plethora of ugly.
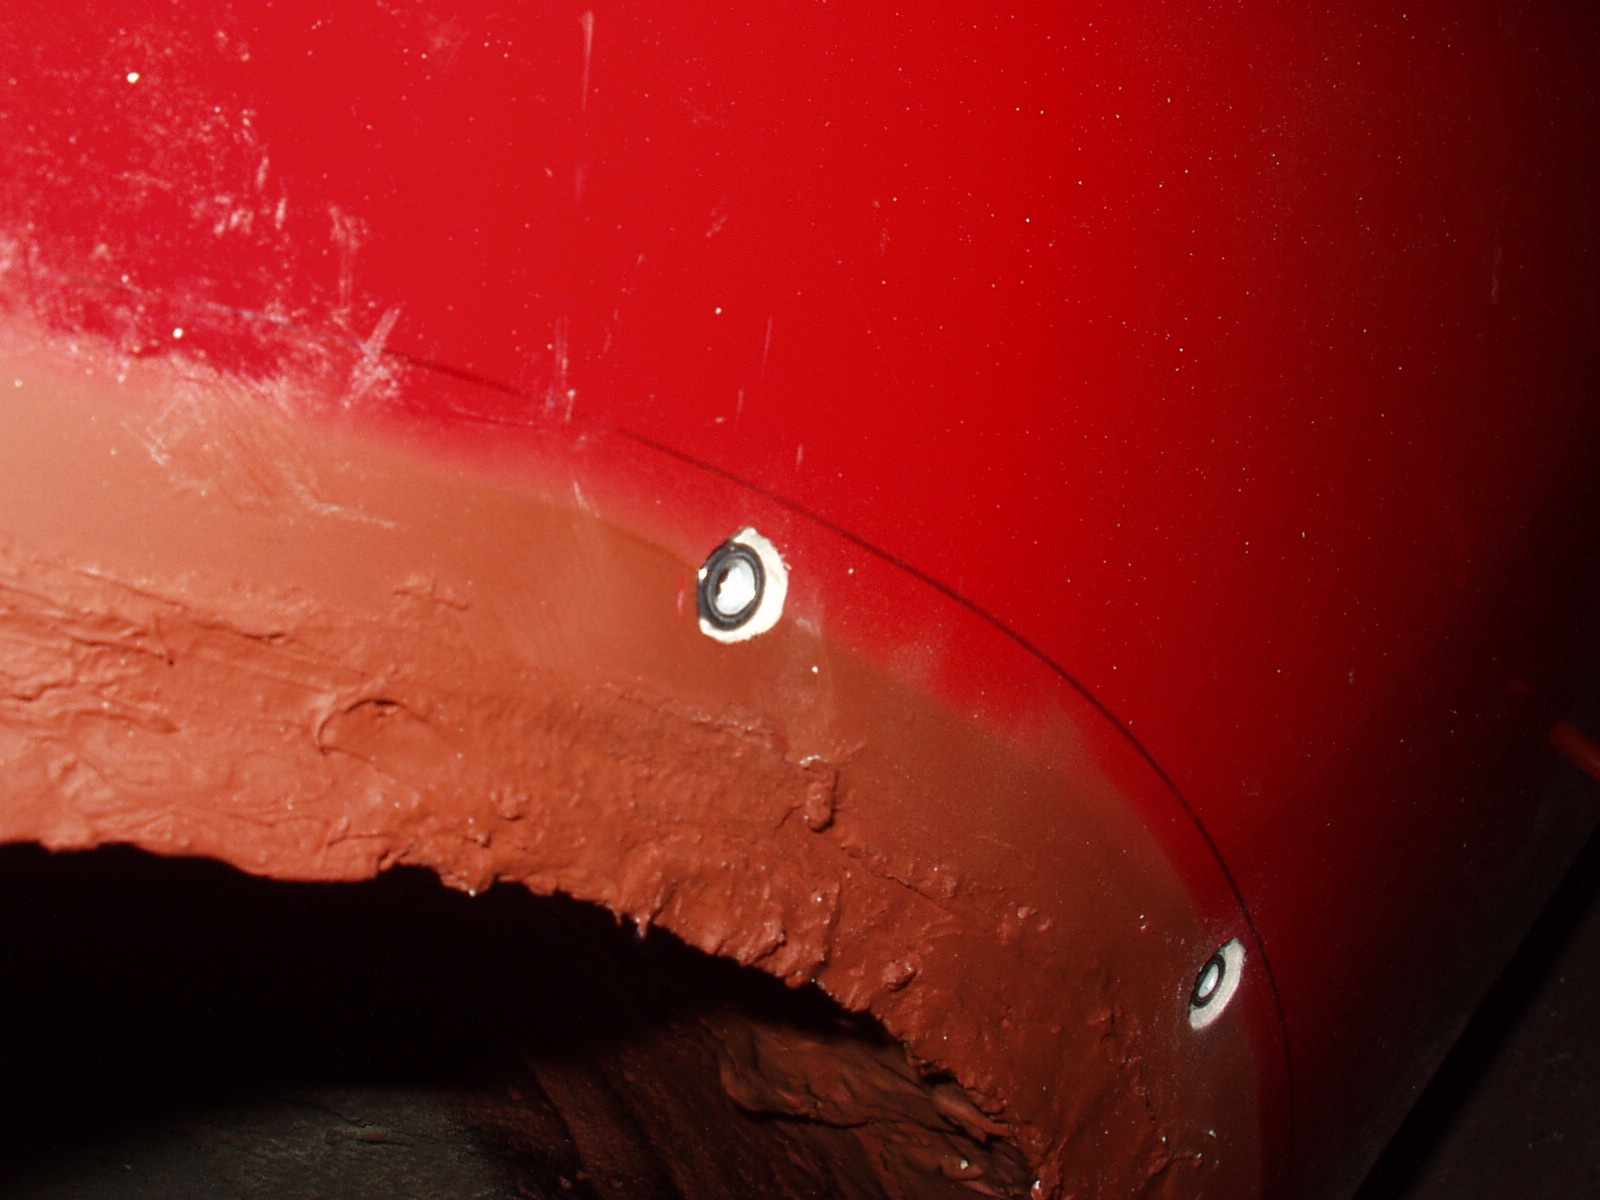
Realigning the fiberglass flares to the original Sharpie outline I marked the spots where mounting holes were to be drilled. This is when I noted that the Bondo managed to reach a thickness of about 1/2″. Since I was planning to use a Riv-nut, or threaded insert, style of rivet I had to counter sink the Bondo layer with a drill bit. Luckily my allen head bolts were long enough to counteract the Bondo depth. You can see in the larger image the outer layer of white, countersunk filler surrounding the threaded insert.
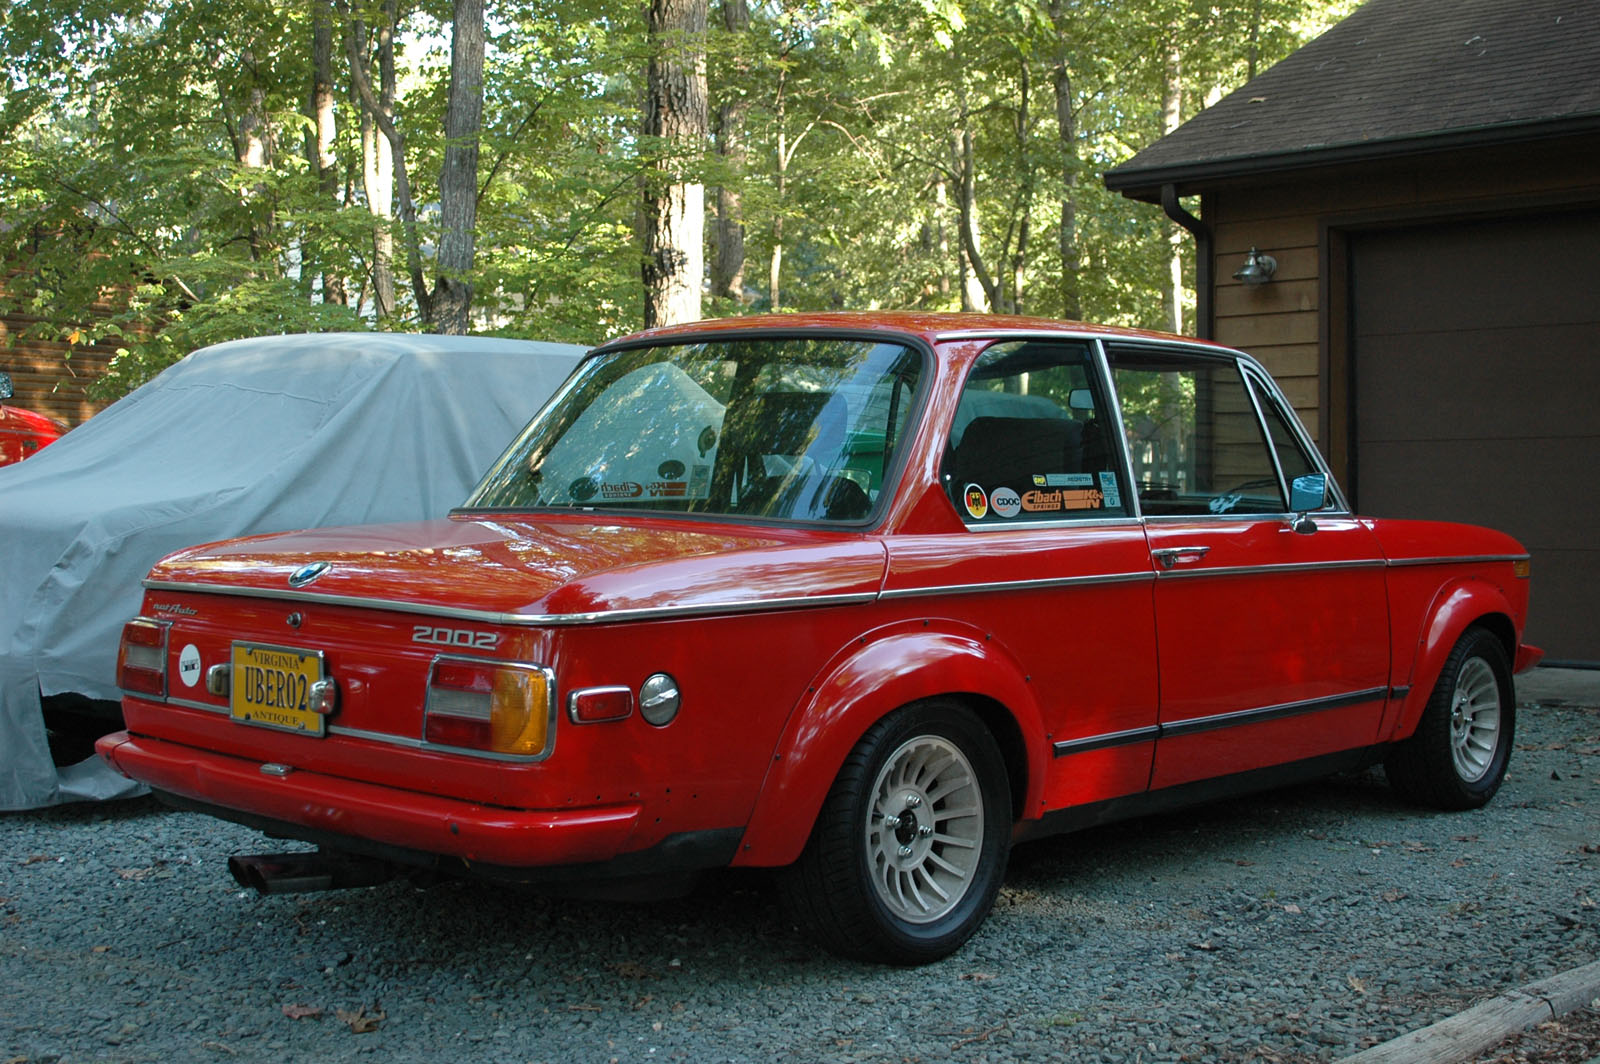
Bolting the flares up took a bit of patience and trimming as some of the holes were just slightly off center from where they needed to be. A small amount of reaming with a drill bit opened up the mounting holes on the flares and they went on beautifully. The fronts are much easier as all they require is one cut and the mounting holes to be drilled. With the new flares I can easily fit lower offset wheels such as my Western Racing turbines. They are probably about an ET10 or 12 offset if I had to guess, not offset info is listed on the wheels. Here is the final flare placement and the end result.
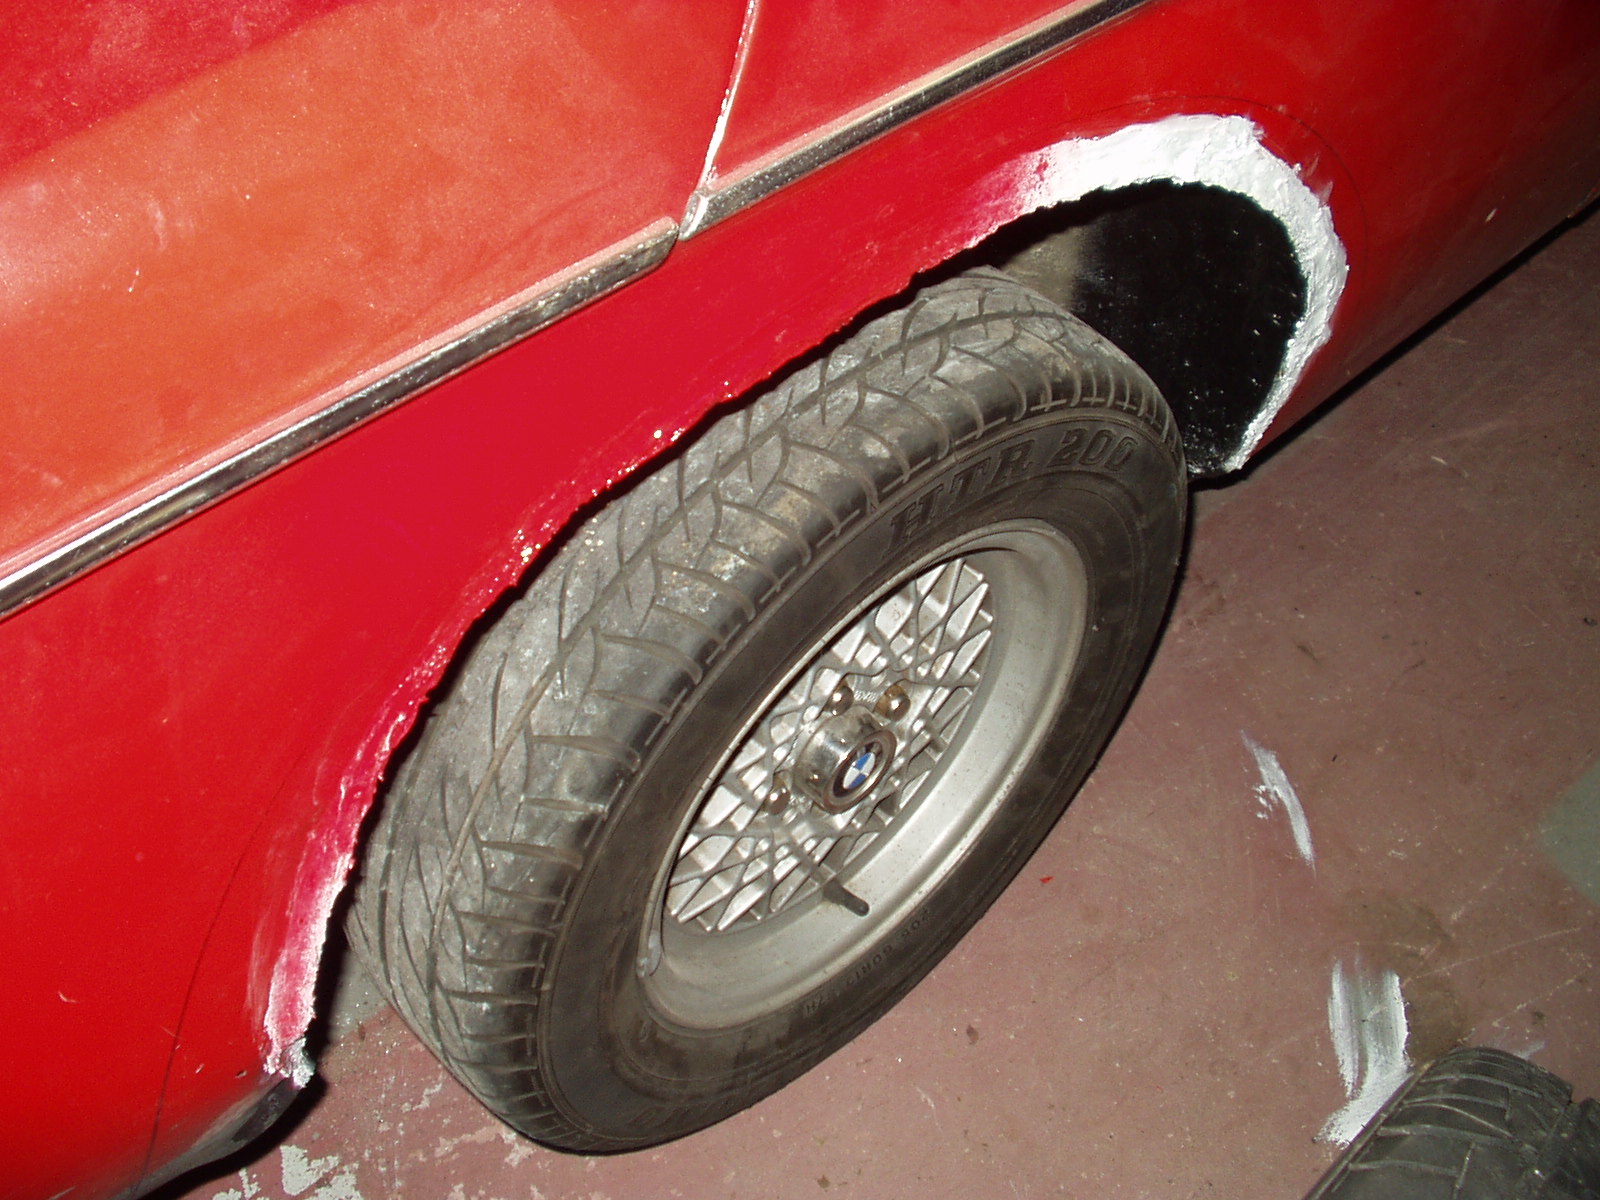
Last flare waiting to go on: 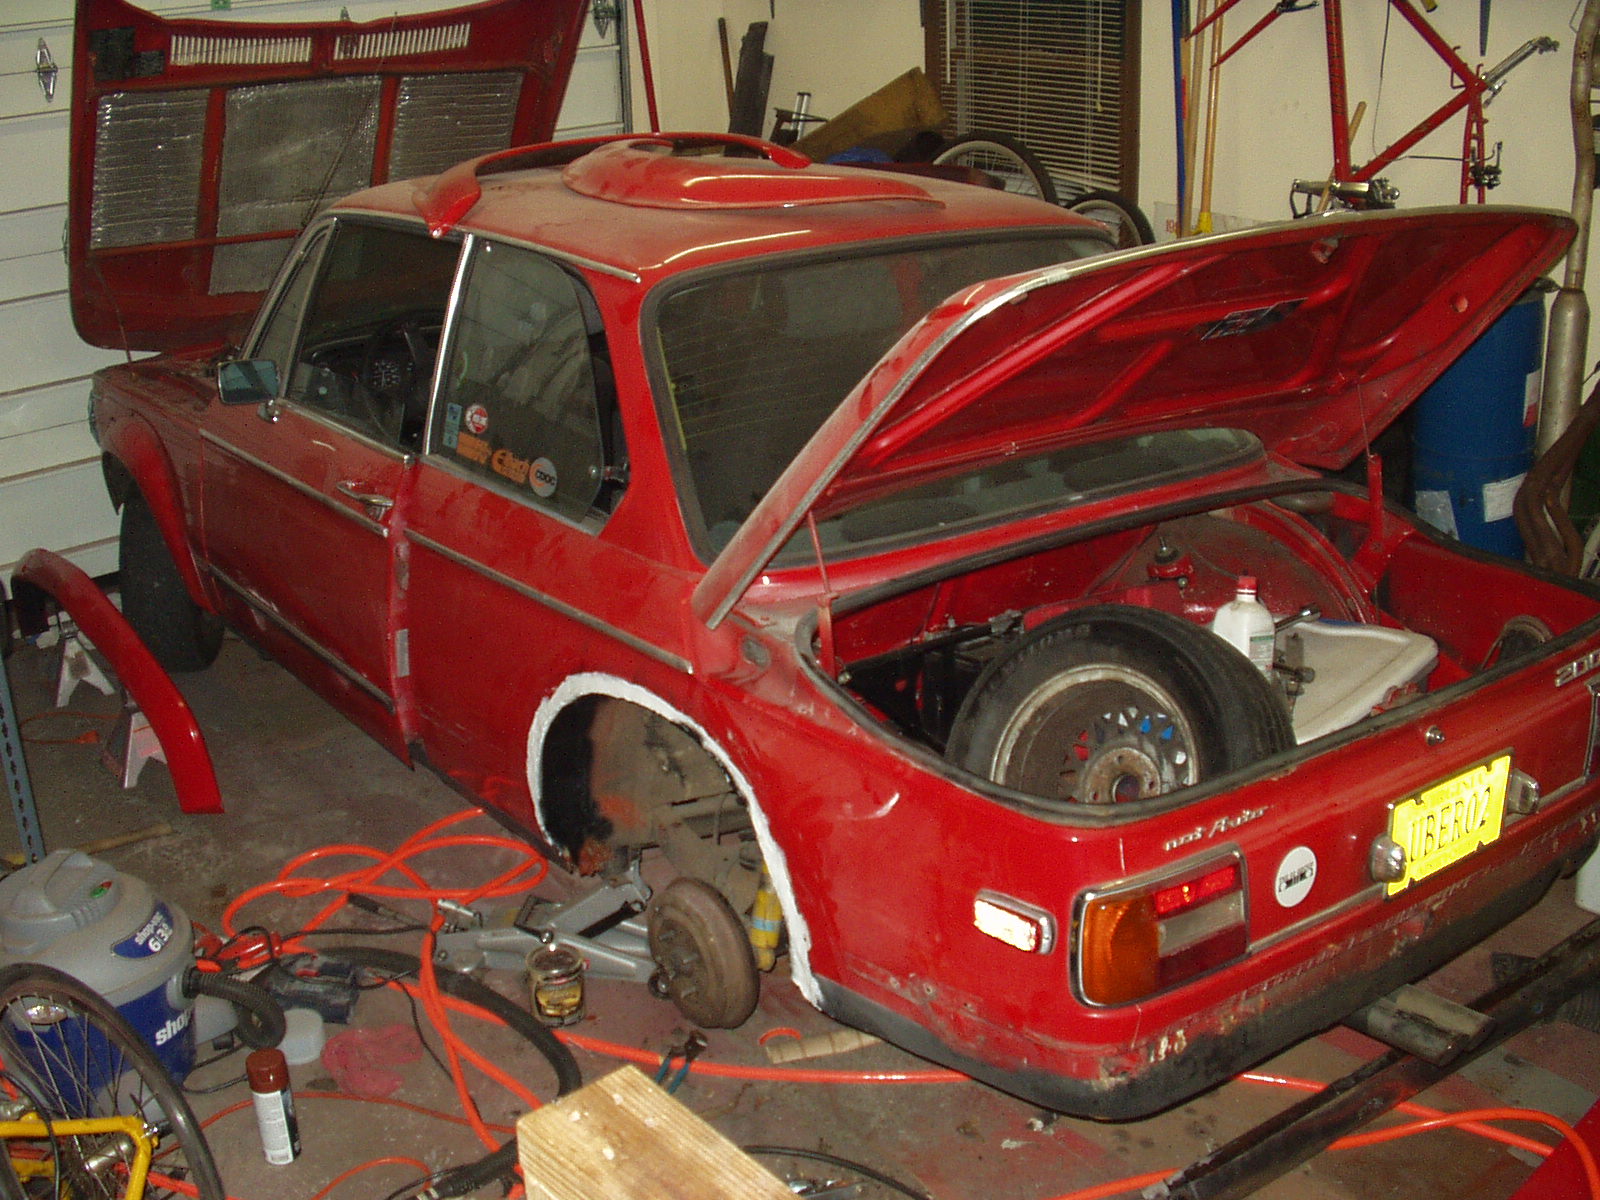
New flares, wheels and bumper conversion: