Finally made a little bit of progress on the project car. After a few minor projects on the red car, our MINI and the Ford Ranger, the little turkis car is back in the spot light. The dust flew, a pile of blue tinted carnage remained while a shiny trunk lid emerged.

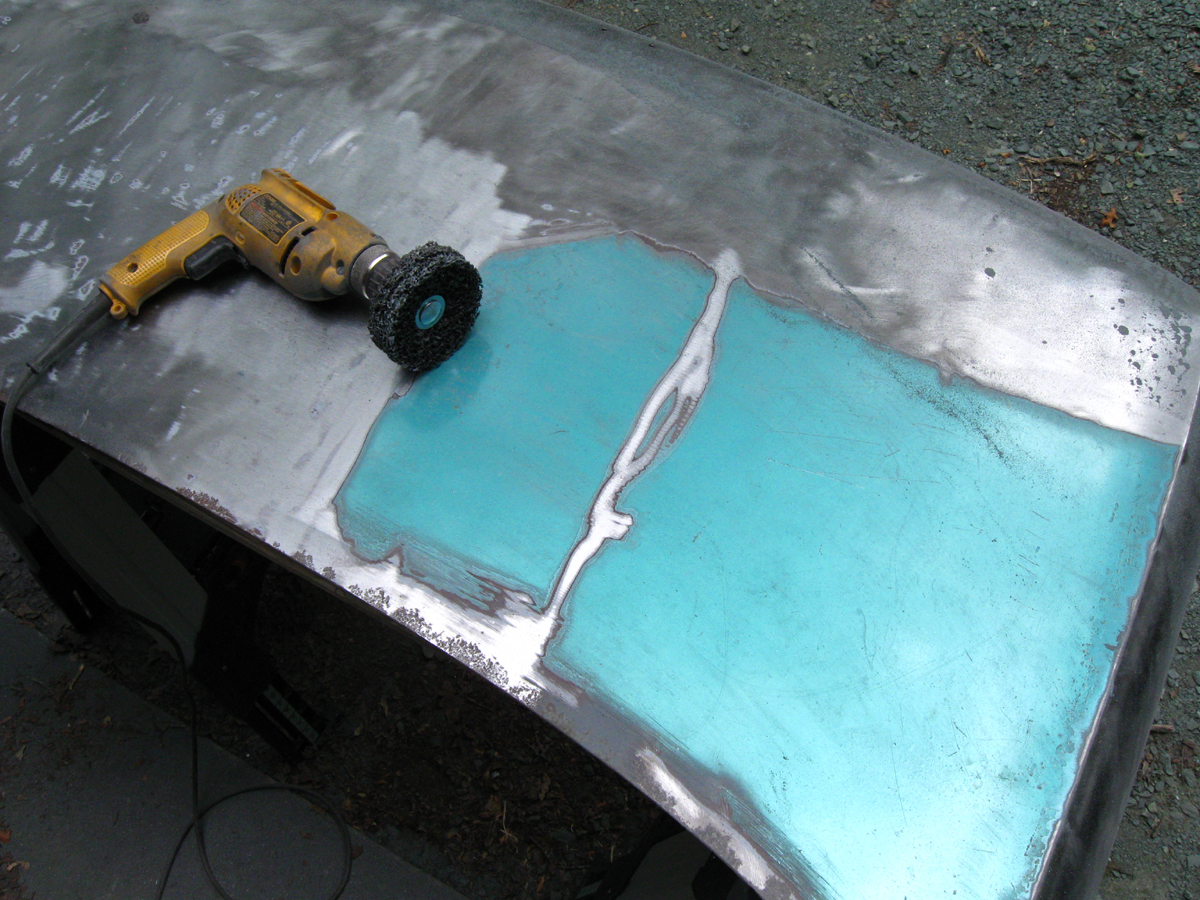
The original trunk lid was pretty nasty looking. Someone had taken a grinder to the corners and essentially squared them off. Or so I thought. Before I went looking for a replacement, I did the standard bondo check that has become routine for me at this stage of 02 restoration. And behold, the squared edges were just bondo, thankfully.
I decided to take the drill and brass wire brush to the paint and strip it down to bare metal. After about two hours and only 1/3 of the paint removed, I wised up and bought some plastic composite paint stripping wheels. A much faster alternative and they don’t seem to heat up as much as the brass wire brushes did. The lid turned out great with only a small dent and few areas of surface pitting, both can be touched up with some bondo and glazing.
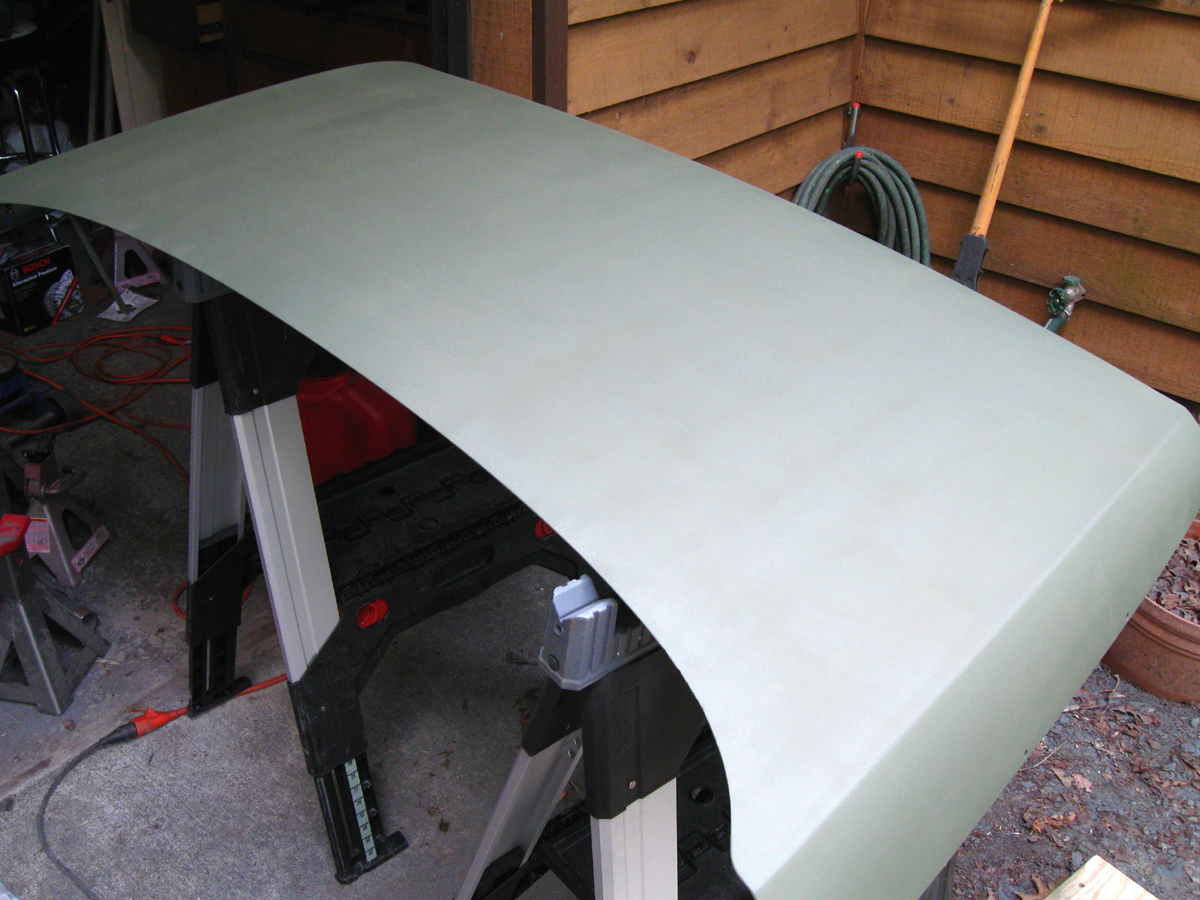
Using the new dual action air sander I picked up from Lowe’s, I gave it a once over with 320 grit sandpaper to clean off any residues. Next I mopped up the dust from the trunk lid using paper towels and a paint prep solvent then laid down a protective layer of rattle can Krylon Self-Etching primer. Great stuff and I love the olive green tint. I’ll fill in the dent and the surface pitting next, then lay down a second layer of proper gun-sprayed primer before sanding and painting…and sanding and painting…and sanding and painting…